
MX™ Connect Applications
This guide explains how to create and submit merchant applications in MXC. It covers application delivery options, step-by-step application creation, product configuration, document uploads, and application status tracking.
Introduction
The Applications module is used to create and submit merchant applications for underwriting and approval.
In this guide, you’ll find:
- The available application submission options
- How to create a new application
- How to configure products and MX™ Merchant
- How to upload documents
- How to submit and track application status
Application Submission Options
There are three ways to submit an application. You must upload all required underwriting documents before submission.
Send application to client for completion and signature
You may complete as much or as little of the application as needed. The merchant completes any remaining fields and uploads all required underwriting documents.
The merchant receives two emails:
- One to review and complete the application electronically
- One to sign the application electronically
Send completed application to client for signature
You complete the application in full. The merchant can view the application but cannot edit it, and signs electronically.
Upload signed application
You complete the entire application and upload the ink-signed version. Electronic completion and signature are not available for this option.
Create a New Application
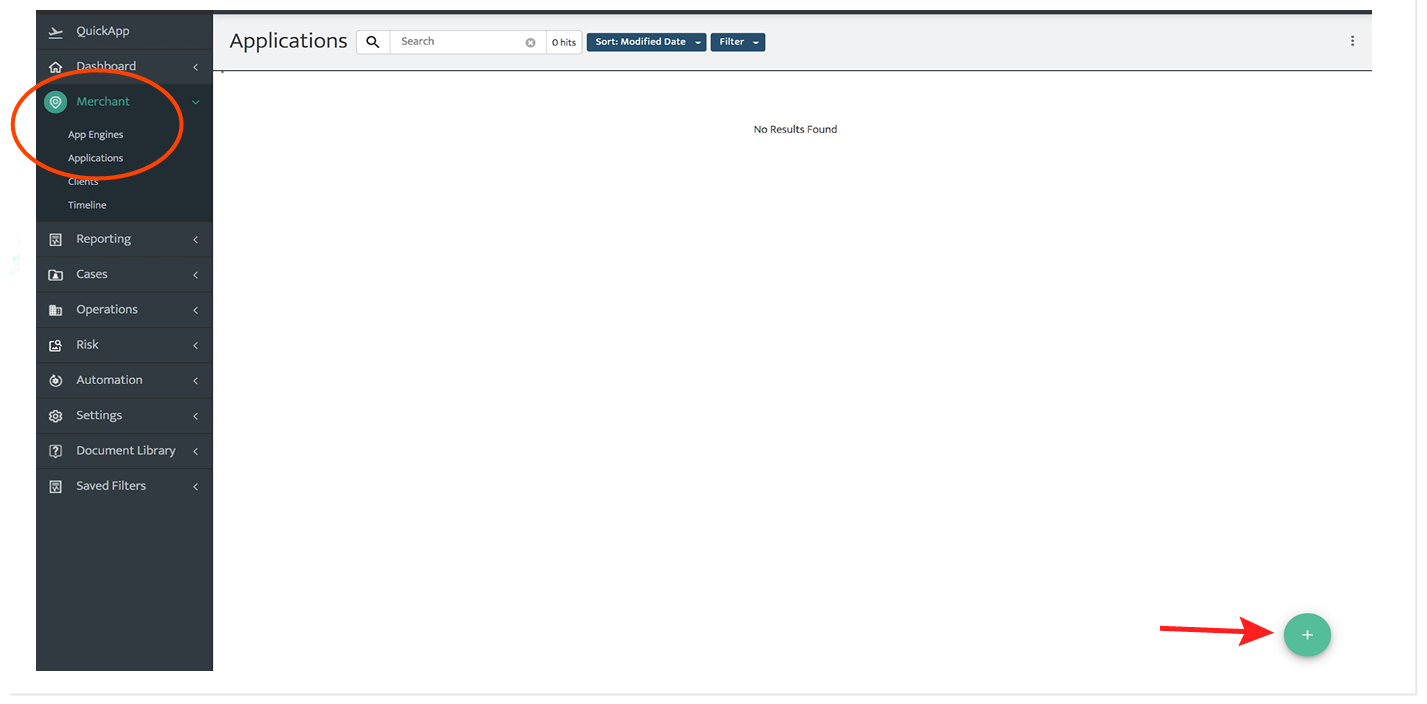
To create a new application:
- Go to Merchant → Applications
- Select the (+) icon
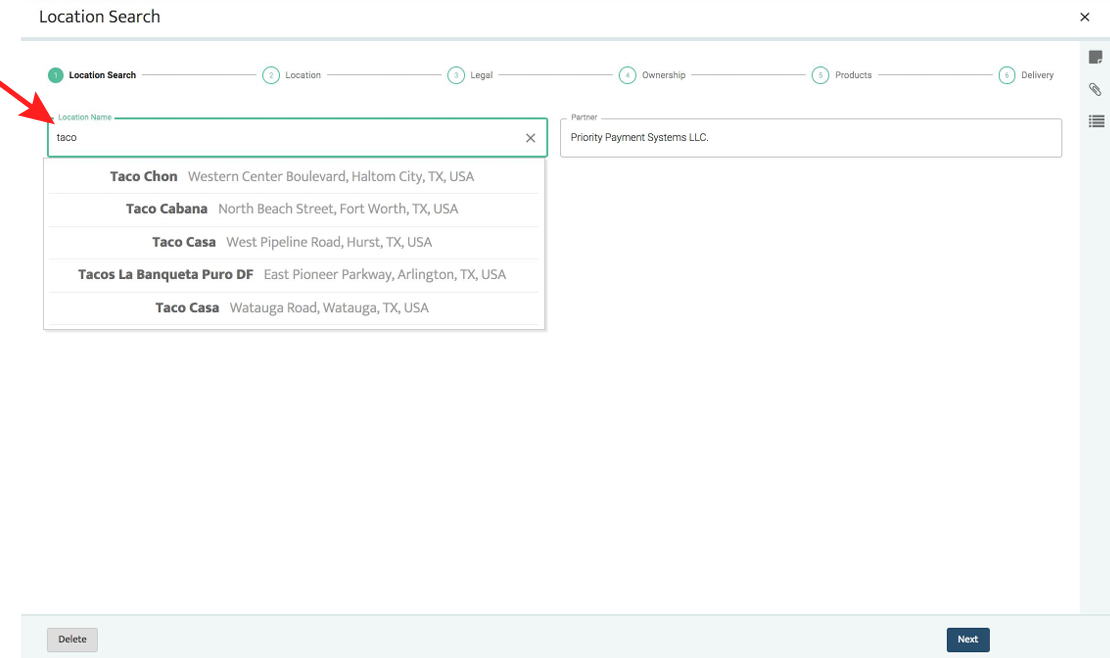
Step 1: Location Search
Enter the location information in the Location Name field.
- Select the merchant if the system finds a match.
- Continue with manual entry if the system does not find a match.
- The system auto-populates the Partner Name field.
- You can delete the application before submission.
When the system finds a match, it loads location data from Google™ Places.
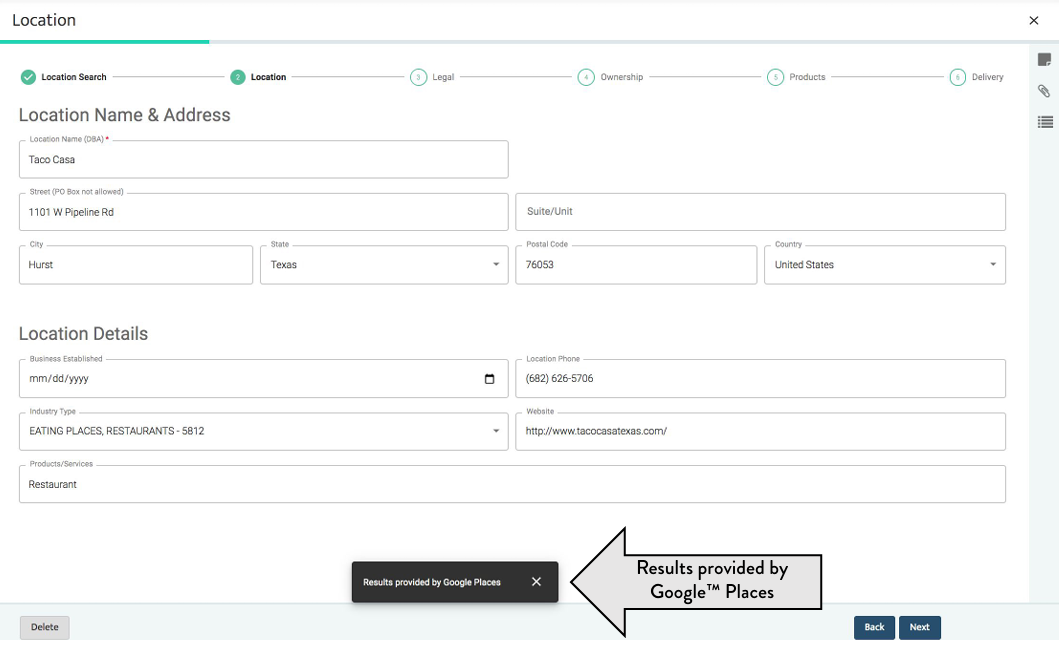
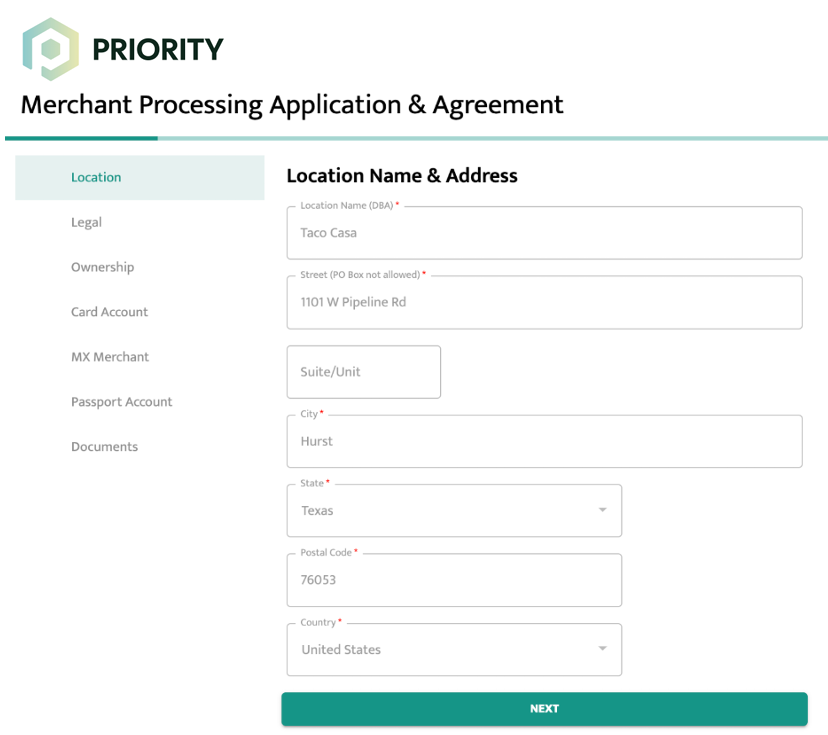
Step 2: Location
Location fields auto-fill if a match was selected.
- Fields remain editable
- Fields may be left blank for merchant completion
- Fields marked with * must be completed by you
Select Next to continue.
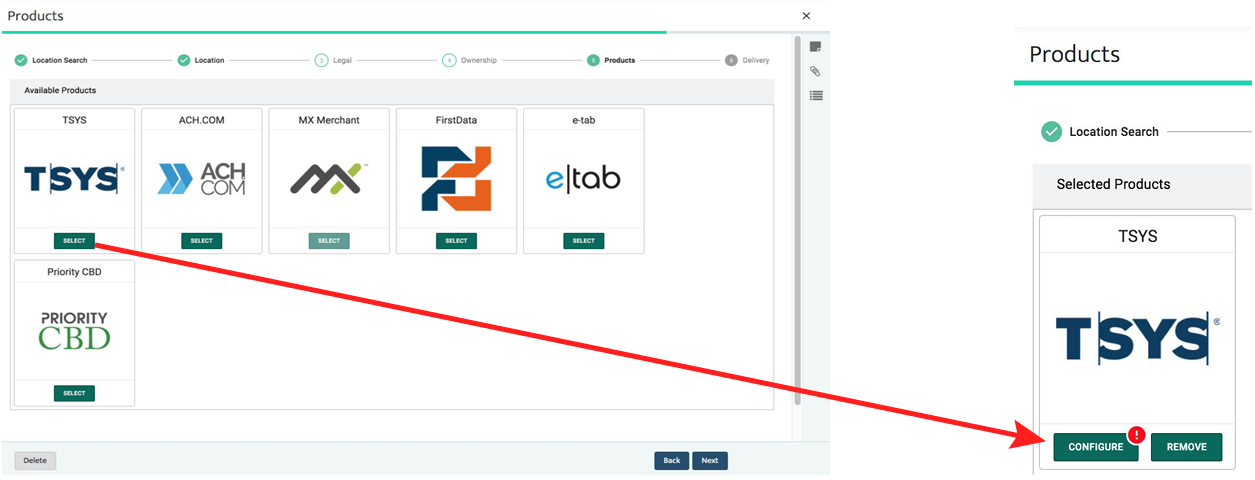
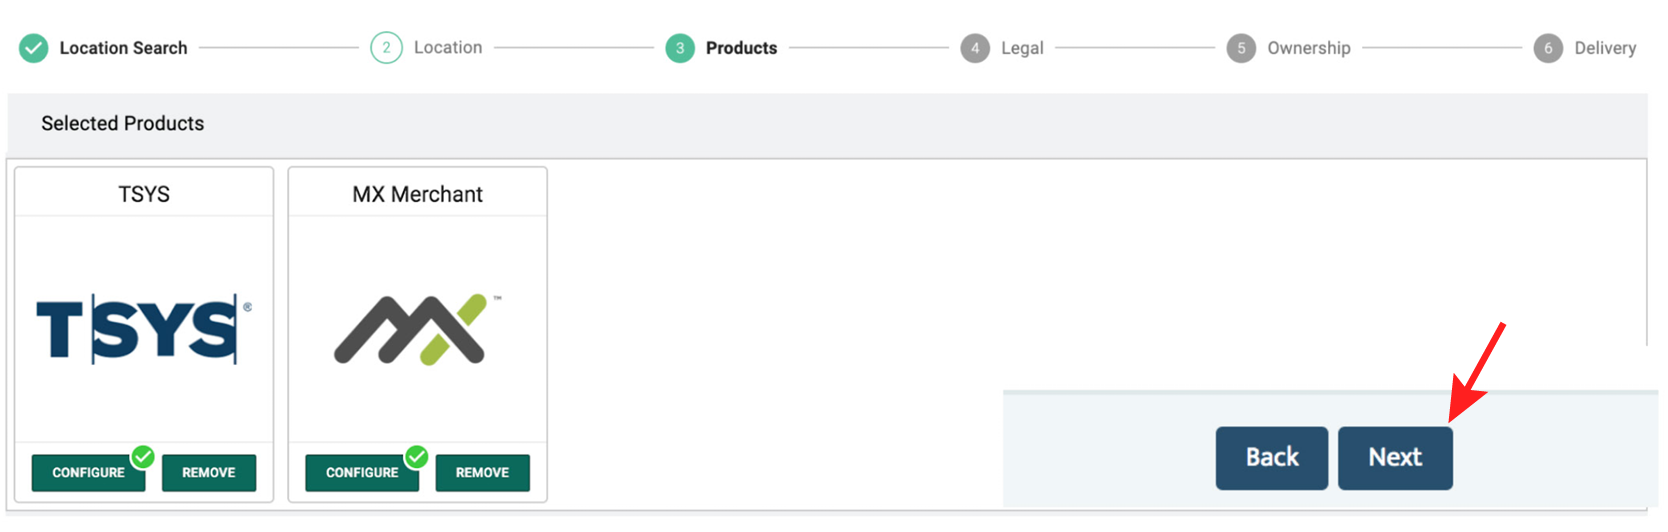
Step 3: Products
Select a front-end product.
- Select Select
- Select Configure
A red exclamation mark indicates missing required fields.
Product Configuration
General
The General tab, displayed first, allows you to enter merchant processing parameters and configure options such as future delivery, welcome kits, statement branding, and seasonal merchant settings.
Features
The Features tab allows you to enable supported card types and additional services, including PIN debit, EBT, next-day funding, combined deposits, and sponsor bank selection.
Pricing
Select the Pricing tab to configure merchant fees. You must select a pricing template.
You create and manage pricing templates under Settings > Templates. After you select a template from the drop-down menu, the system auto-populates all fees and displays them as they will appear on the merchant statement.
Pricing templates can be locked or editable. If a template is editable, a pencil icon appears. You can duplicate or clone line items to save time, and delete line items using the trash icon.
Billing
The Billing tab allows you to enter the merchant’s banking information.
For TSYS accounts, the merchant may use one bank account for fee debits and a different bank account for deposits.
Equipment
The Equipment tab allows you to select the processing solution the merchant will use. Click Add Equipment to choose the gateway, POS device, or terminal.
For TSYS front-end accounts, after the application is approved:
- Confirm that the V# has populated.
- Download the VAR sheet by selecting VAR Sheet PDF.
For Fiserv or MX™ Merchant accounts:
- Submit a File Build Request after approval.
Boarding Documents
Select the Boarding Documents tab to specify which supporting documents the merchant must upload and return with the digitally signed application.
After you enter all required information, select the arrow in the top-left corner to save the configuration. This completes the product setup.
MX™ Merchant Setup
If MX™ Merchant is required:
1.In the Available Products tab select MX™ Merchant and Configure
Follow the configuration tabsÑ
Setup
The Setup tab displays default configurations for Welcome Kit and Product Site Branding. No action is required.
Features
The Features tab allows you to control which Apps are visible to the merchant.
When you set an App status to Active, the system:
- Displays a pop-up showing any associated fees.
- Prompts the merchant to install or activate the App.
You must set MX™ Base to Active.
Merchants can self-activate most visible Apps.
Pricing
The Pricing tab allows you to apply preset pricing templates for MX™ Merchant. Templates save time by automatically applying default pricing.
You create and manage templates under Settings > Templates > Pricing. A pricing template is required to complete setup.
Using the MX™ Merchant Global Pricing Template simplifies pricing by applying fees across all active or available Apps.
Even if a merchant does not currently use an App, you should still assign a fee in case they activate it later.
Billing
The Billing tab indicates that MX™ Merchant charges appear on the TSYS or Fiserv third-party statement.
To save the MX™ Merchant configuration and return to account setup, select the back arrow in the top-left corner.
Once products are configured, click Next.
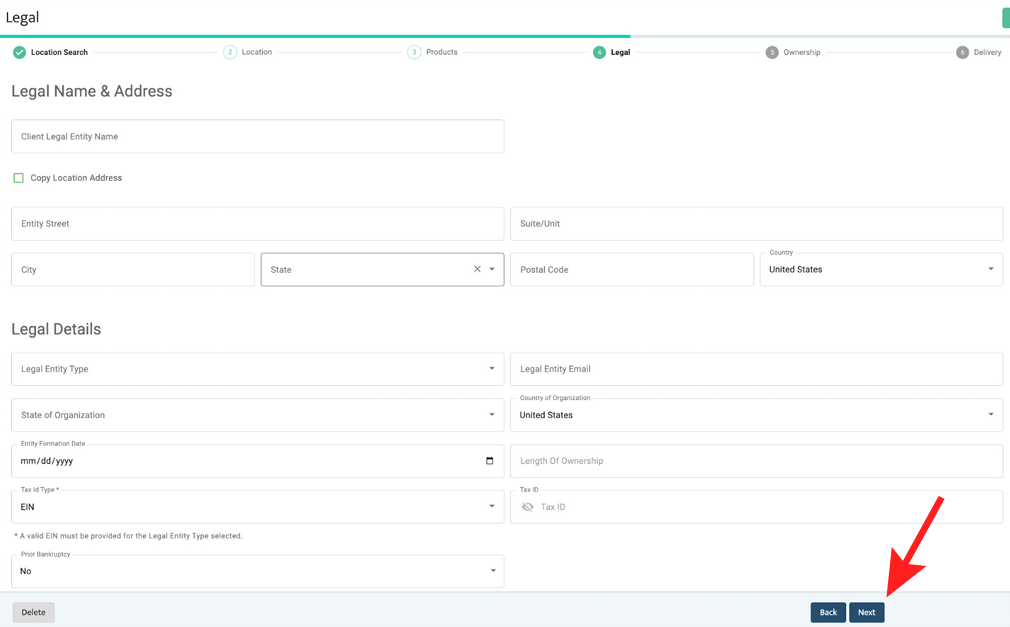
Step 4: Legal
Enter legal business information or select Copy Location.
Fields may be left blank for merchant completion.
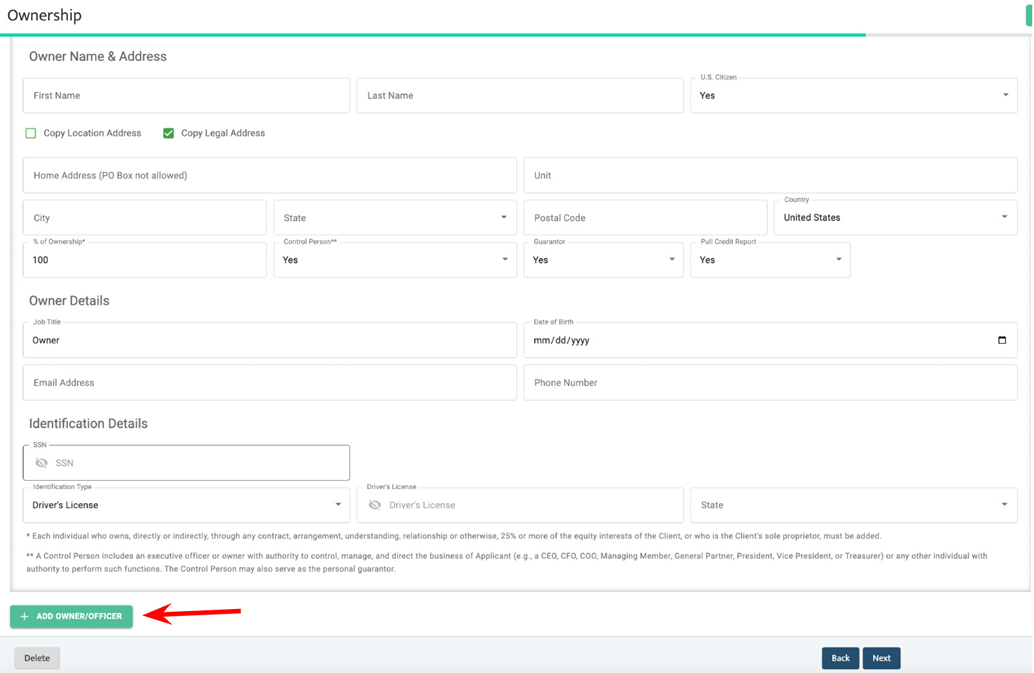
Step 5: Ownership
Enter the owner’s information. You can copy location or legal details to save time if the information is the same.
To add additional owners or officers, select Add Owner/Officer in the bottom-left corner.
Select Next to proceed to Step 6.
Ownership and Guarantor Rules
Each merchant must have exactly one guarantor.
Ownership requirements vary by business type:
-
Government, Non-profit, and 503 Tax-Exempt
Ownership percentage depends on the jurisdiction type. -
Individual / Sole Proprietor / Single-Member LLC
Ownership must be 0%. -
Two owners
- One owner must be the guarantor with 0% ownership.
- One owner must be a non-guarantor with 100% ownership.
-
Partnership
The combined ownership of all owners must be greater than 50%. -
Non-guarantor owners
Must have a minimum of 25% ownership.
Step 6: Delivery
Select a delivery option:
- Send for Completion and Signature
- Send for Signature
- Upload Signed Application
Add notes for Underwriting if needed.
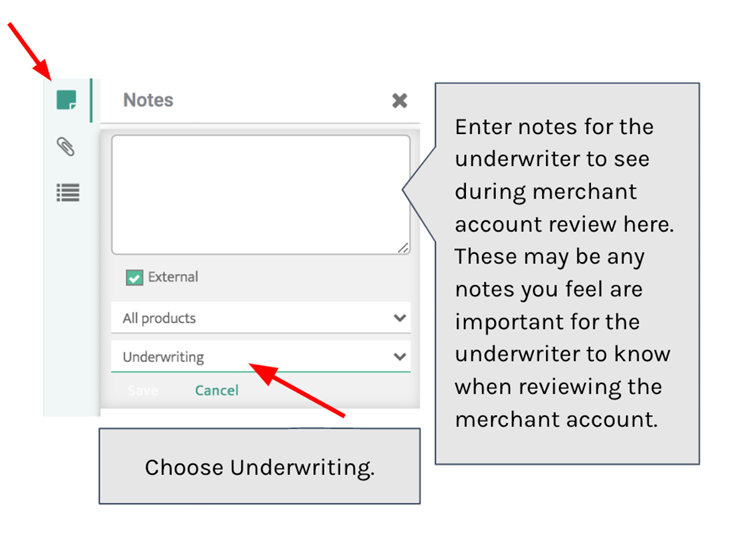
Select the paper clip icon to upload files by drag and drop or file browser.
- Multiple files supported
- Assign a category to each file
Preview and Send
Select Preview to review the merchant view.
Select Send to submit.
You can review each step for accuracy by selecting Next in the bottom.
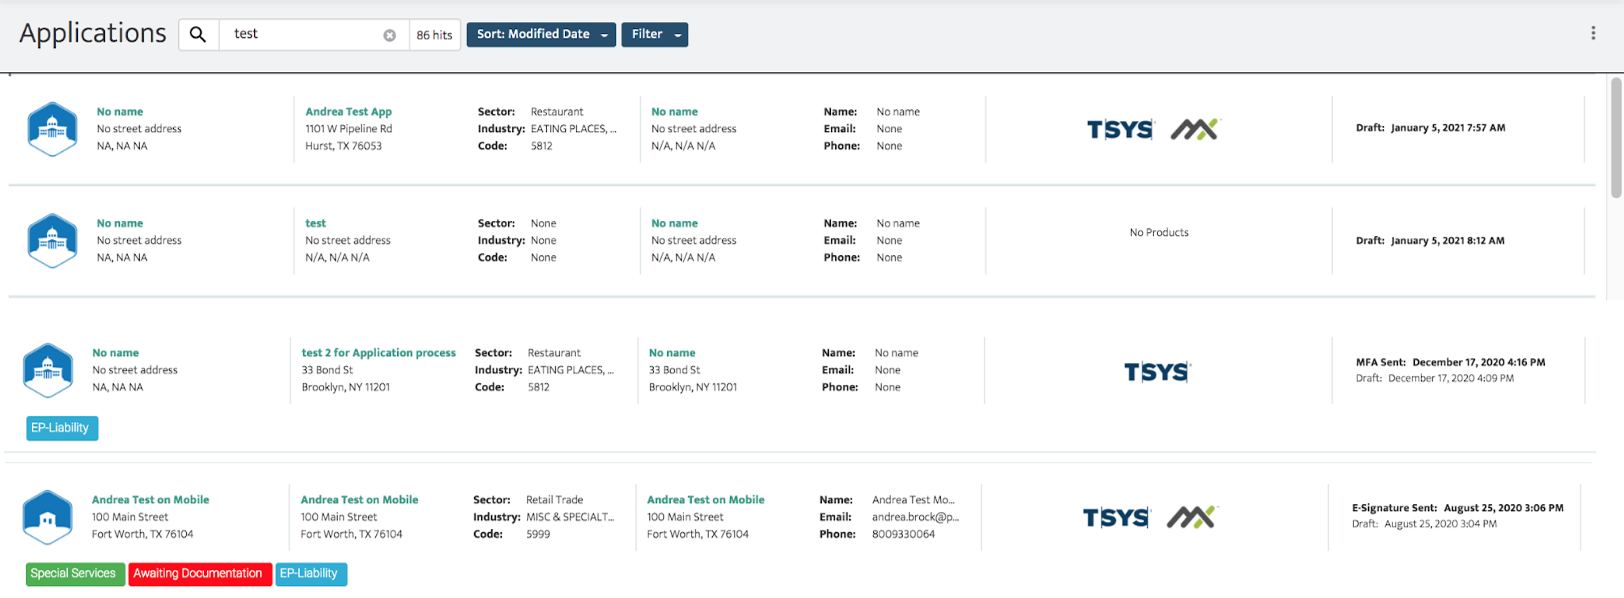
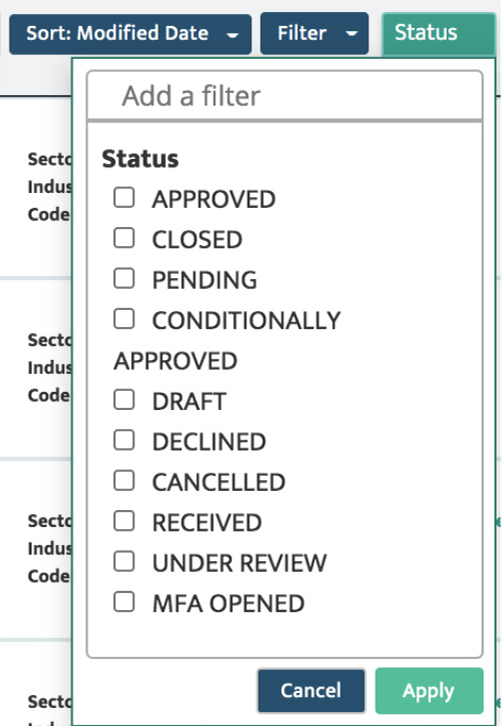
Application Status
Applications appear in the Applications grid.
Statuses include:
- Draft
- Sent
- Opened
- Signed
- Pending
- Approved
- Declined
Unsent applications can be edited.
Once submitted, the application moves to the Clients grid.
Underwriting and Approval
After submission:
- Applications are auto-approved or reviewed
- Status changes to Pending if more information is required
- Approved applications receive an account number
Notifications
To receive updates go to Merchant, Timelines and Notifications
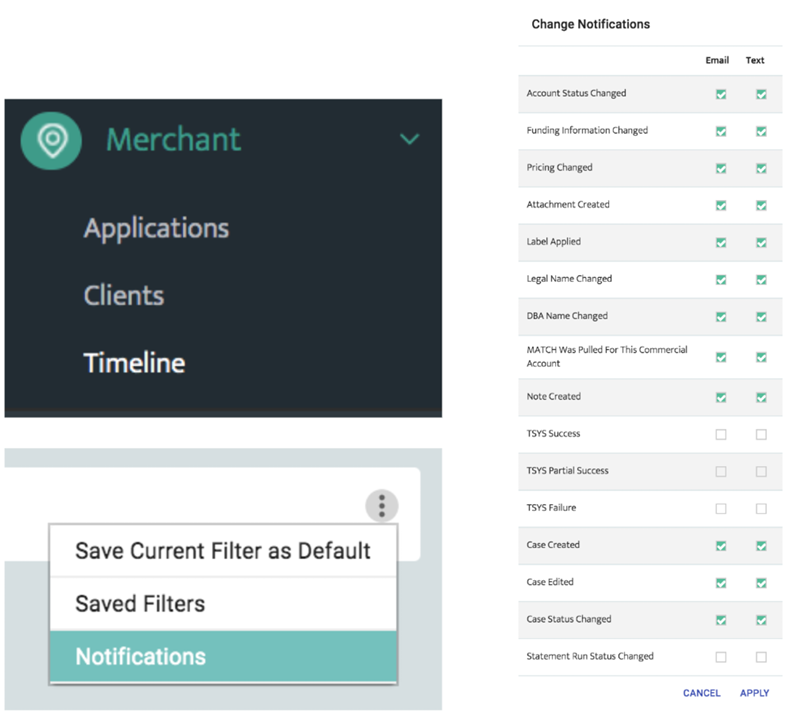
Enable:
- Account Status Changed and select the checkbox with the Email or Text notification options.
Updated 30 days ago